English
Edit Image
With the "Edit Image" use case, you can:
- further process existing images,
- combine them with each other,
- or address them specifically in the prompt.
A dedicated chat opens – just like with image generation – where you add your reference images and then edit them via the prompt or combine them with newly generated content.
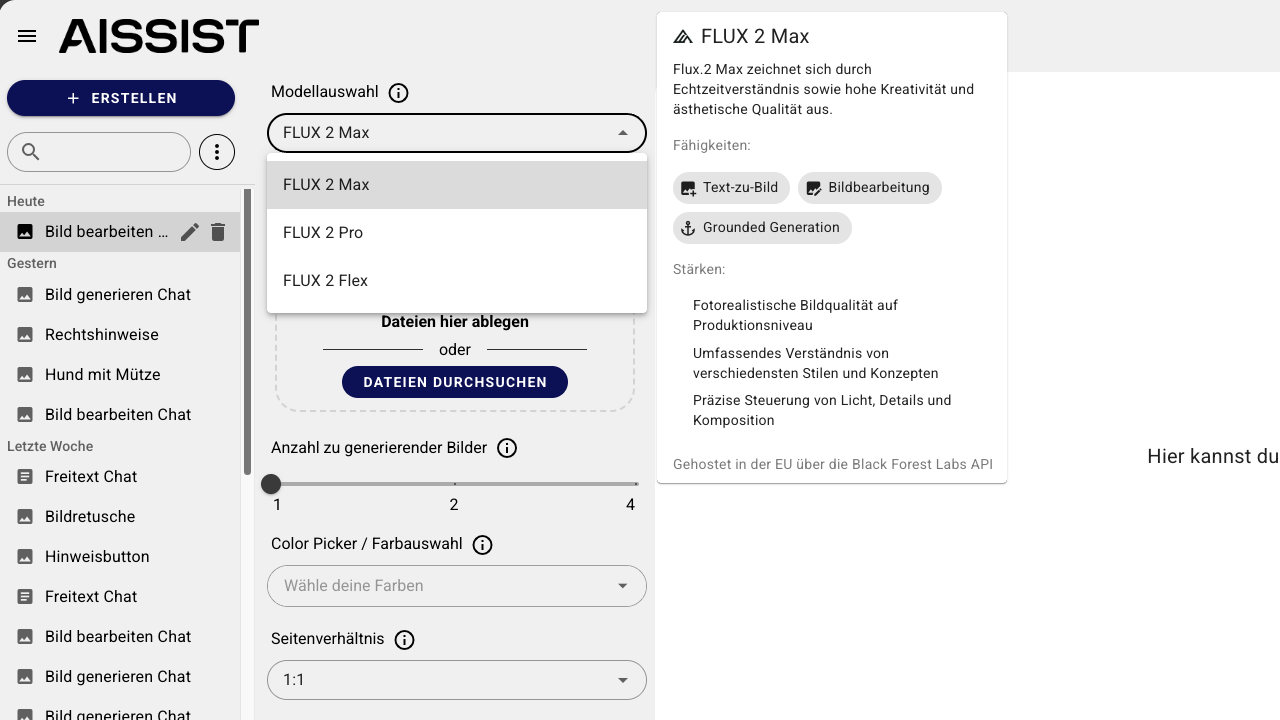
Under the "Model Selection" menu item, you can choose between the connected image models1. Depending on the selected model, the range of functions and image character may differ (e.g. more realism, more artistic freedom, etc.).
Adding and Addressing Reference Images
In the "Edit Image" use case, you can define up to 7 reference images. These reference images can be specifically addressed in the prompt – e.g. as "Image1", "Image2", "Image3", etc.
Loading Images into the Reference Area
You can load images into the reference area2 in three ways:
- via drag & drop from your file system,
- via the upload button,
- via the arrow button directly from the chat history into the reference area.
Once an image is in the reference area, it automatically receives a position number, e.g.:
- Image with number 1 → in the prompt as
Image1 - Image with number 2 → in the prompt as
Image2 - etc. (maximum
Image7)
These numbers serve as a clear reference when you give specific instructions about a particular image in the prompt.
Hover Effects on Reference Images
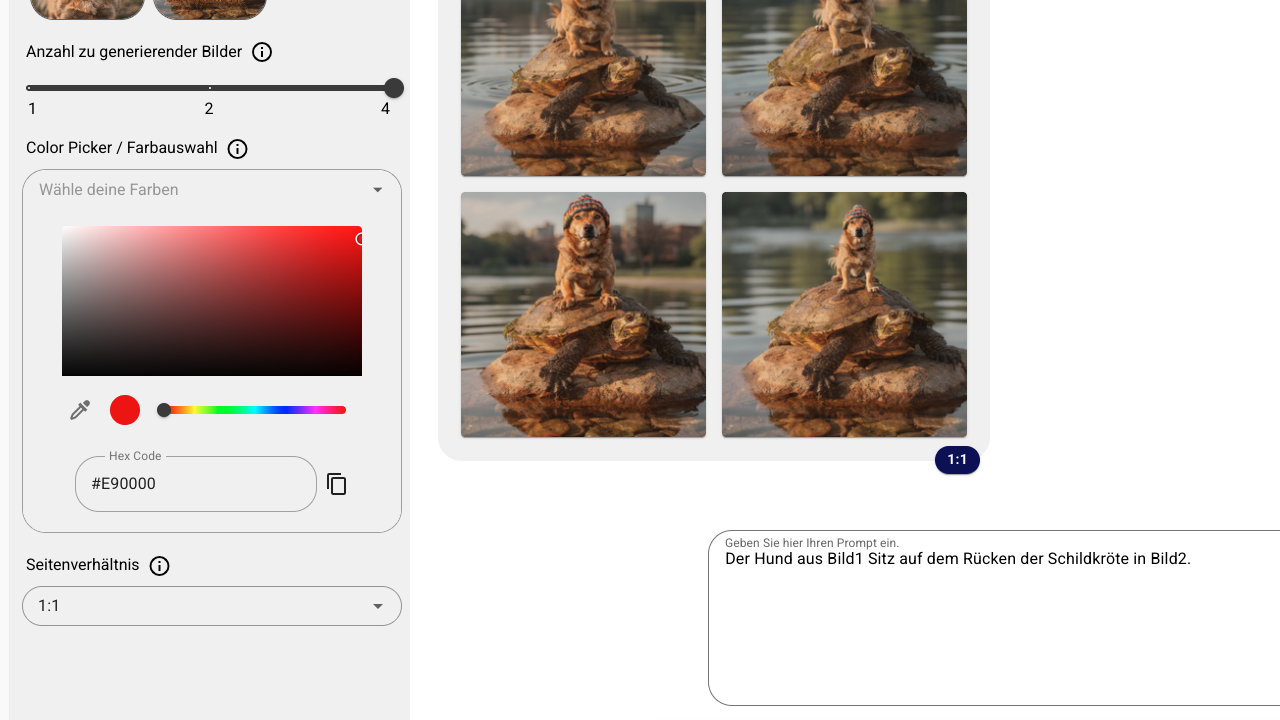
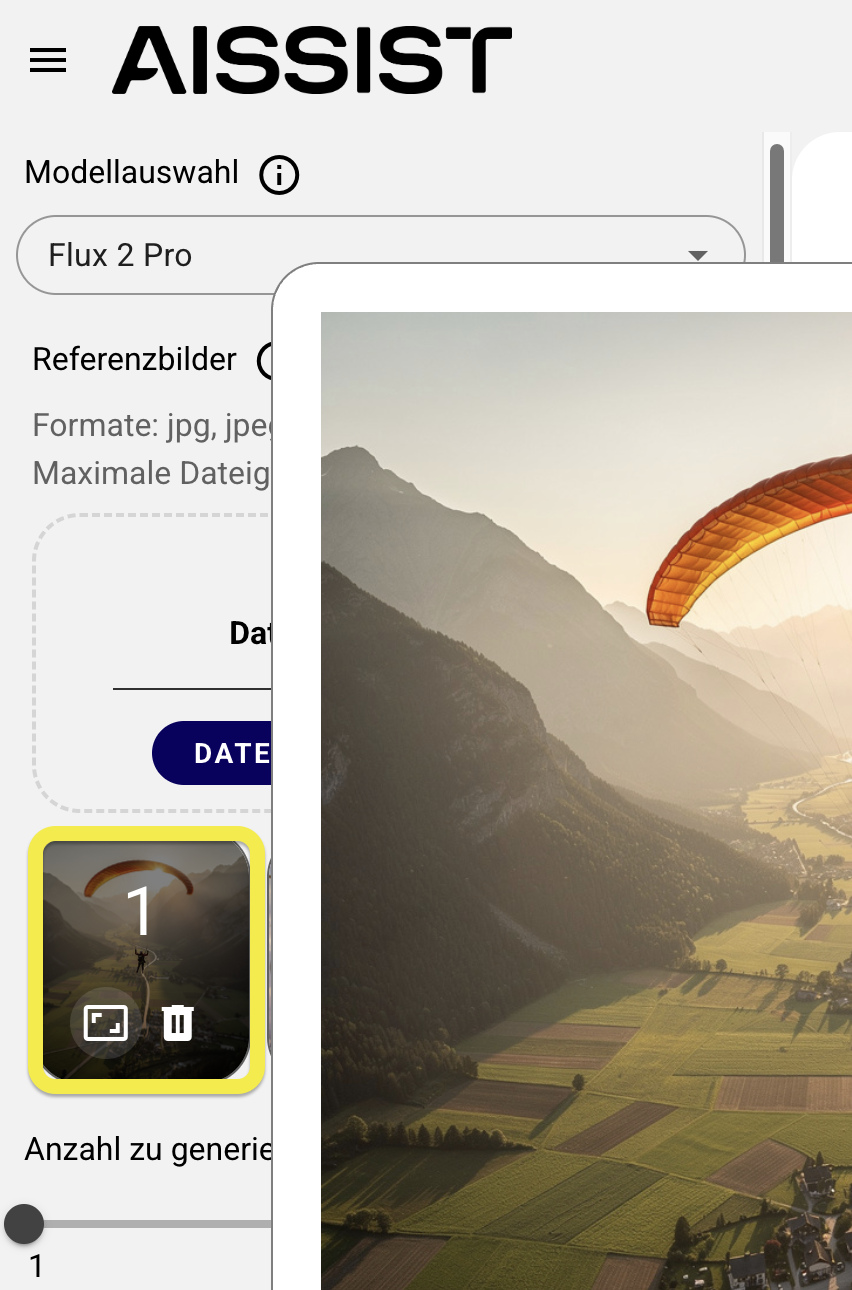
When you move the mouse pointer over a reference image, additional information is displayed3:
- An enlarged preview of the image appears.
- Below the preview, the pixel size (e.g.
1024 × 1024) and the file name are shown. - On the preview image itself, the following are displayed:
- a number (the reference number, e.g.
1,2,3, …), - a trash icon.
- a number (the reference number, e.g.
Functions in Hover State
Click on the trash icon
Removes the image from the reference area. The remaining references can be renumbered.Number / Reference number
Shows you which label you can use to address the image in the prompt, e.g.:- Image with number 1 → in the prompt
Image1 - Image with number 3 → in the prompt
Image3
- Image with number 1 → in the prompt
This allows you to formulate very precisely which reference image should be changed, colored or combined with other images.
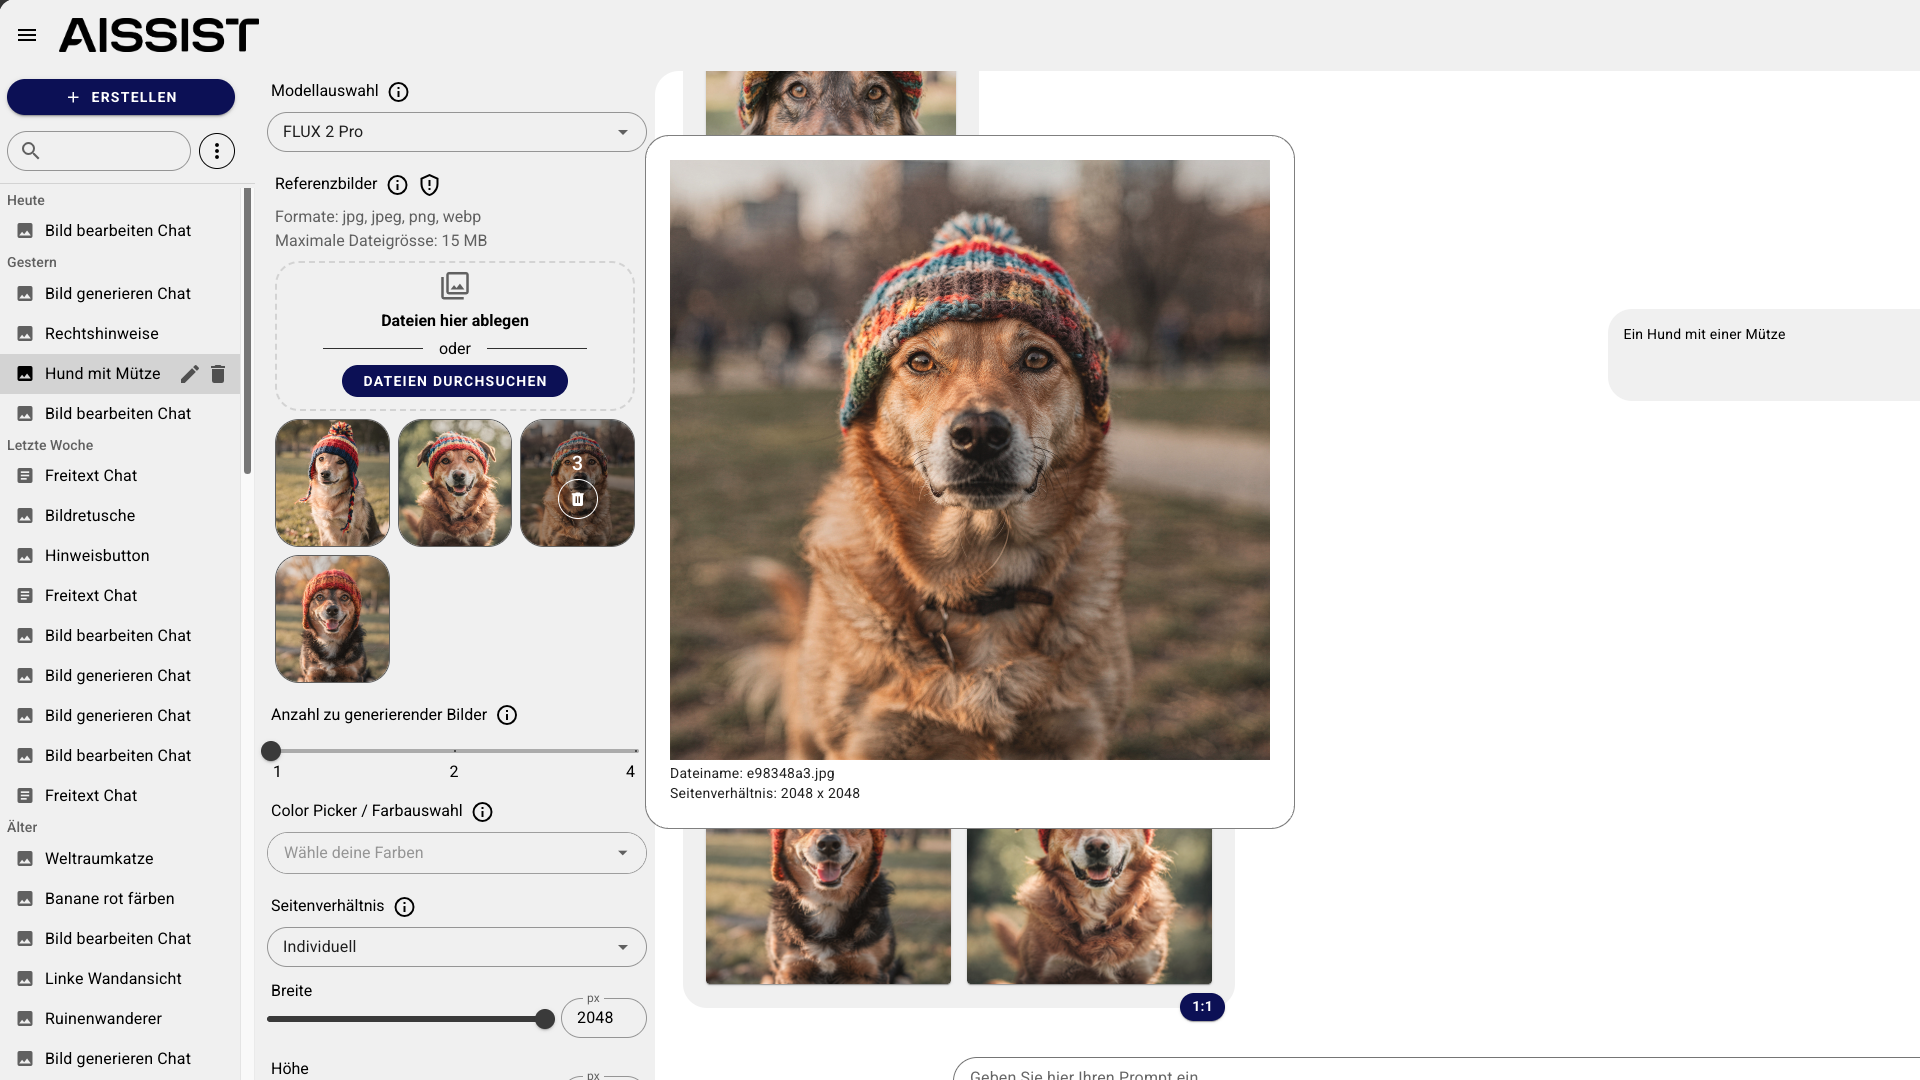
There is also the option to deactivate images so that the model can only access the images that are relevant for the current generation.
Controlling Colors with Hex Color Codes and Color Picker
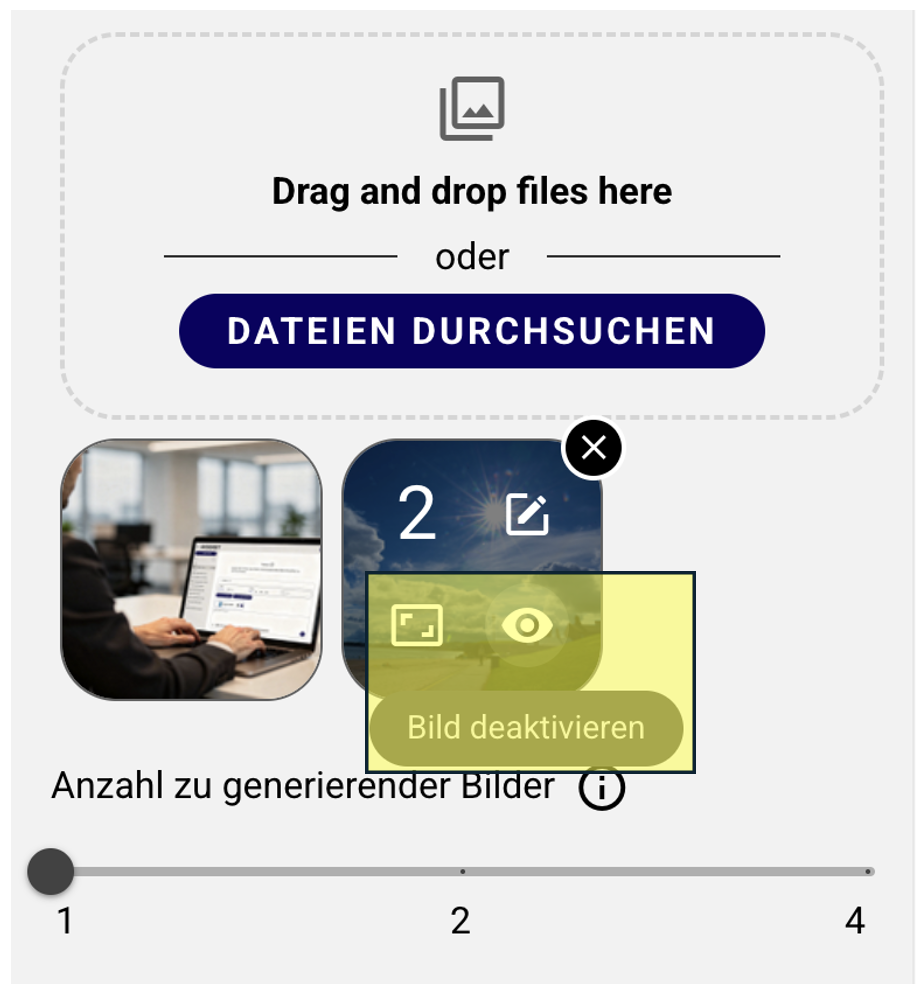
You can control colors in the editing process very precisely – directly via hex color codes in the prompt or via the color picker.
Via hex color codes you can control colors precisely, e.g.:
Color the wall in Image1 #000000.- Gradients:
Add a gradient to the wall in Image1 that starts with #000000 and ends with #FFFFFF.
With the color picker you can:
- select colors conveniently,
- "pick up" any color directly anywhere on the screen (e.g. from an existing image or from the UI),
- then use the selected color as a hex code in the prompt or for adjustments.
Creating Image Masks
During editing, you can also draw image masks dynamically in AISSIST. This means you do not have to describe the entire scene every time, but can instead refer specifically to a certain area in the image.
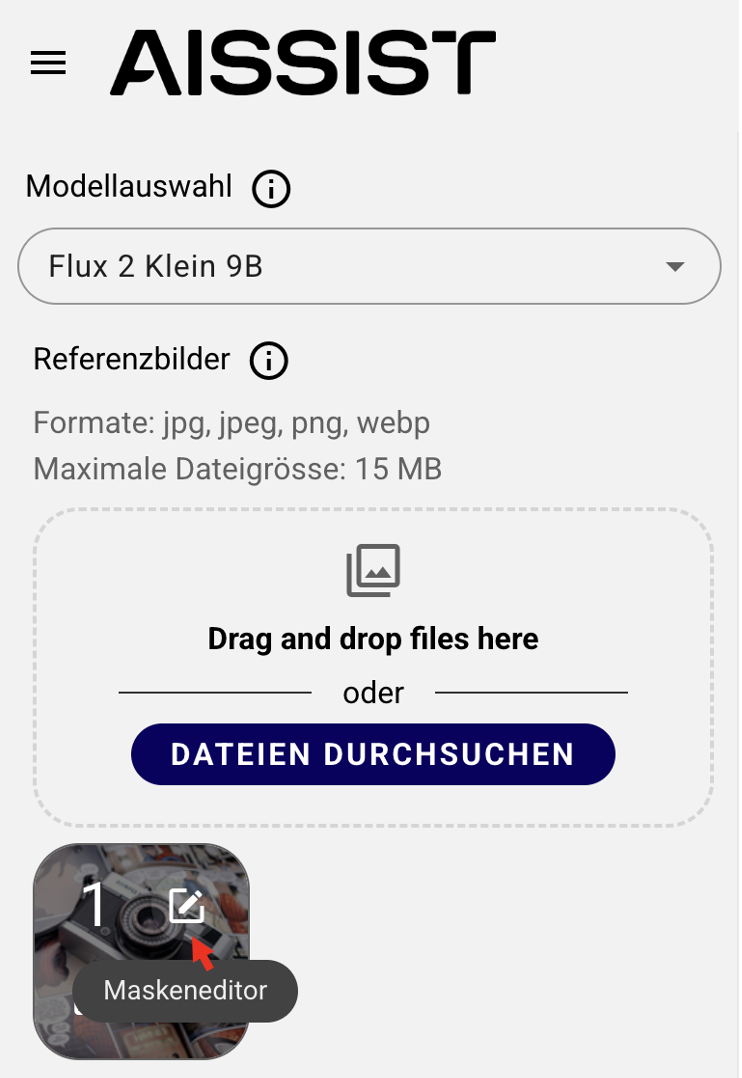
For this purpose, the mask editor is available for reference images.
The mask editor is divided into several areas. In the tool area1, you will find various tools that allow you to draw masks onto the image:
- Rectangle (green): for selecting a rectangular area
- Lasso (yellow): for free, more precise and fine-grained selection
- Circle: for marking round areas
- Brush: for freely drawing masks
In the second row of tools, you also have an eraser available. You can use it to adjust masks afterwards, for example those created with the lasso tool or brush.
You can select existing masks using the mouse tool and remove them again via the delete button3.
In the adjustment area2, you can also change the following properties:
- Color of the mask
- Brush size (px)
- Opacity of the mask
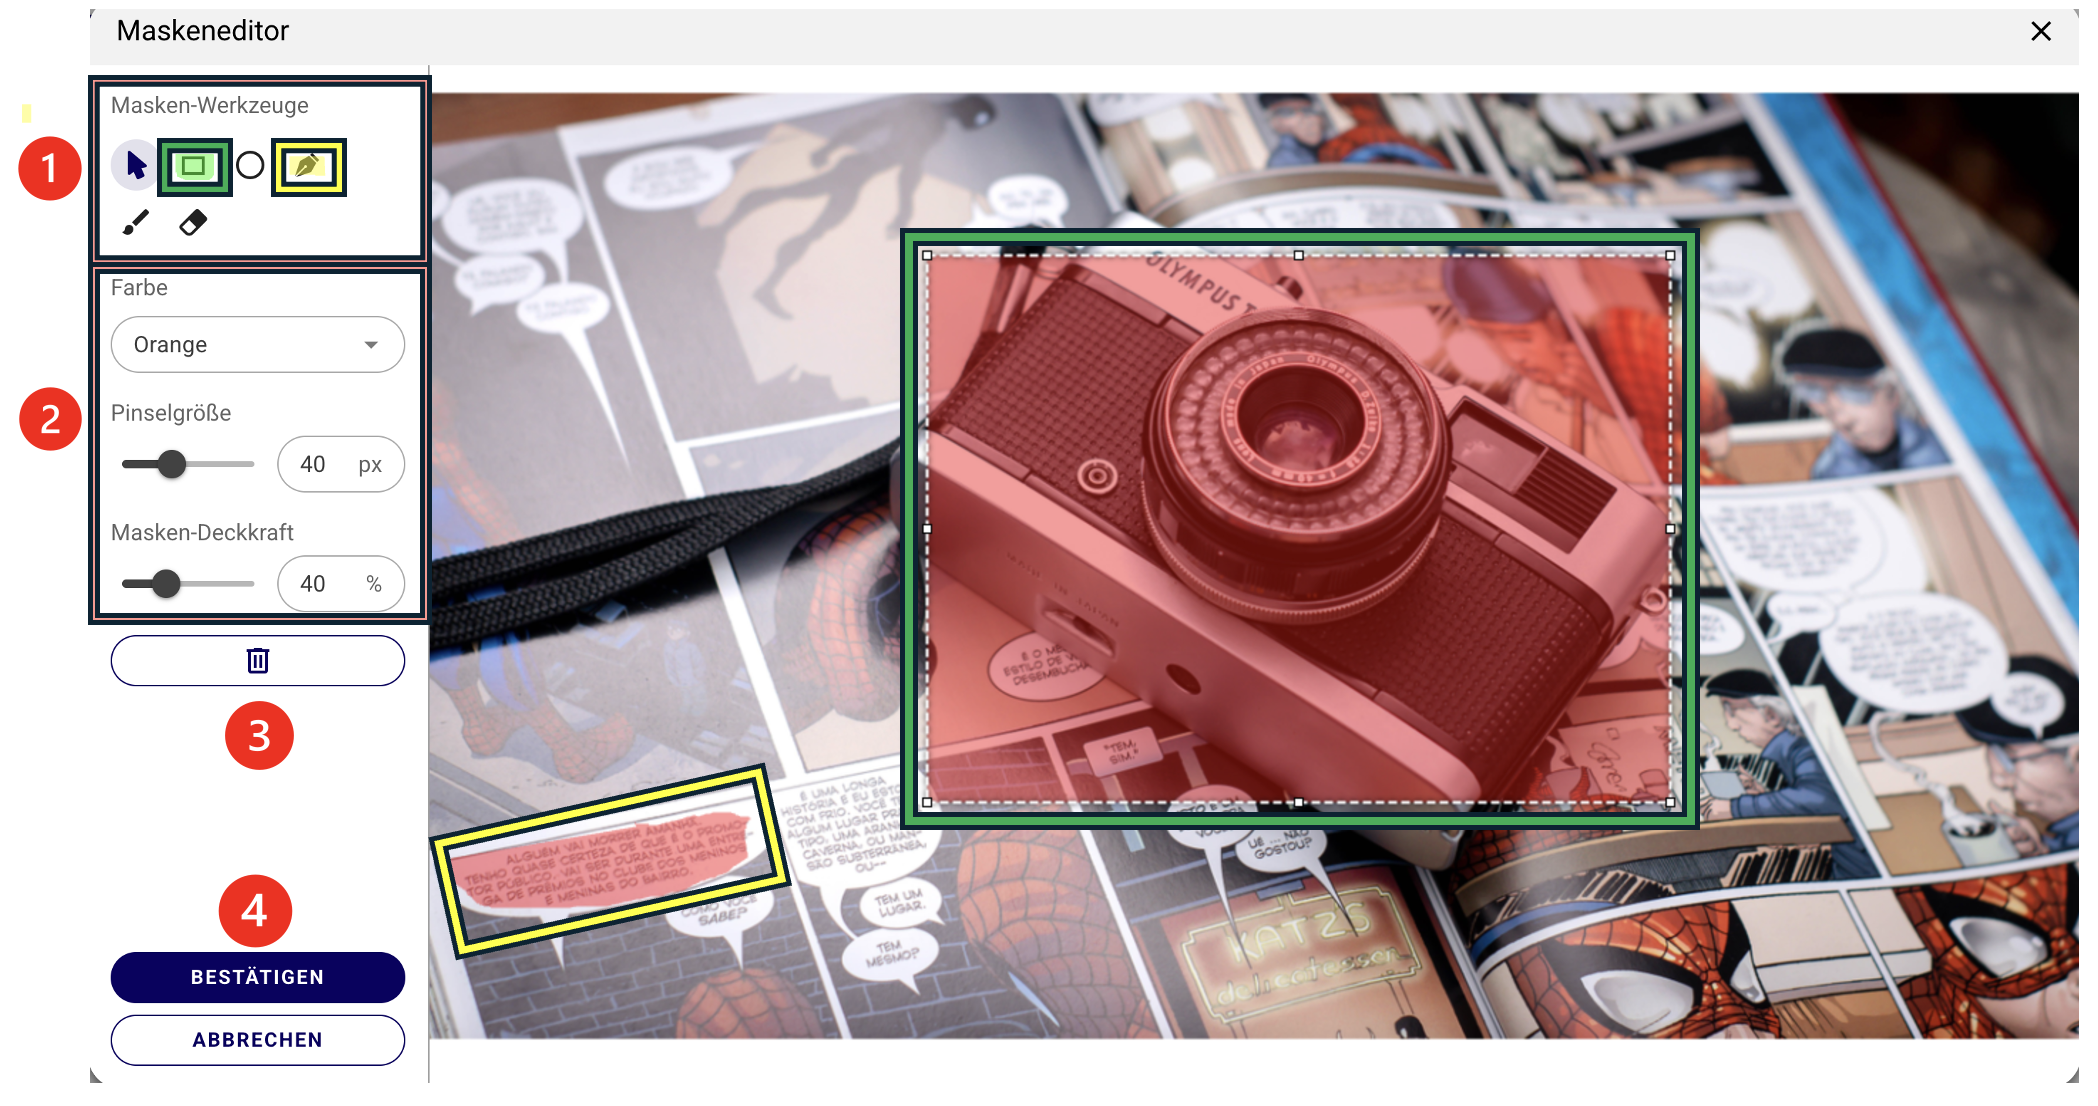
When your mask is finished, you can apply or discard it using Confirm or Cancel4.
After confirming, a masked version is added to your reference images. You can then reference this version in the prompt — either via its number or directly via the mask color.
Example:
Change the red mask to (...)
Important:
The mask should be referenced in the prompt so that AISSIST can clearly identify which image area should be edited.
Number of Images and Aspect Ratio
The image count selection lets you define how many images should be generated at once4.
"Aspect Ratio" defines the format of the images to be generated5.
- Predefined options offer common formats (e.g. square, portrait, landscape).
- The "Custom" option allows you to freely set your own aspect ratio.
This allows you to align the result directly with the intended use – such as social media, website banners or print layouts.
You can adopt the aspect ratio of a reference image by selecting "Reference" for the aspect ratio.
Working Without Reference Images
If no reference images are set, you can generate new images normally without accessing existing images6:
- You formulate your prompt in the input field,
- select model, number of images and aspect ratio,
- start the generation via the arrow icon.
Only when you explicitly load images into the reference area do the extended functions for targeted editing and combination of these reference images become available.
Costs of Image Generation and Editing
Black Forest Labs, the provider of the Flux image models integrated in AISSIST, calculates costs based on resolution (megapixels) for both input and output.
The total cost per image consists of:
- Input costs: Price per megapixel (MP) of the uploaded reference images.
- Output costs: Price per megapixel (MP) of the generated result.
Overview of Models and Prices (per 1 Megapixel)
| Model | Generation (per MP output) | Reference image (per MP input) | Total (at 1 MP in + 1 MP out) |
|---|---|---|---|
| Flux 2 Max | 7.0 cents | 3.0 cents | 10.0 cents |
| Flux 2 Flex | 6.0 cents | 4.0 cents | 10.0 cents |
| Flux 2 Pro | 3.0 cents | 1.5 cents | 4.5 cents |
| Flux 2 Klein 9B | 1.5 cents | 0.2 cents | 1.7 cents |
Practical Examples (using Flux 2 Pro as an example)
The following scenarios show how costs change depending on usage. In all examples, an output image with 1 megapixel (standard) is generated.
Scenario 1: Generation or Editing WITHOUT Reference Image
This applies to pure creation from text or to edits where no original image is included (an edit without a reference image is technically equivalent to a new creation).
- Input image: 0 images = 0.0 cents
- Output image: 1 image × 1 MP × 3.0 cents = 3.0 cents
- Total cost per image: 3.0 cents
- For 4 images (AISSIST standard): 12.0 cents
Scenario 2: One Reference Image + Prompt (Image Editing)
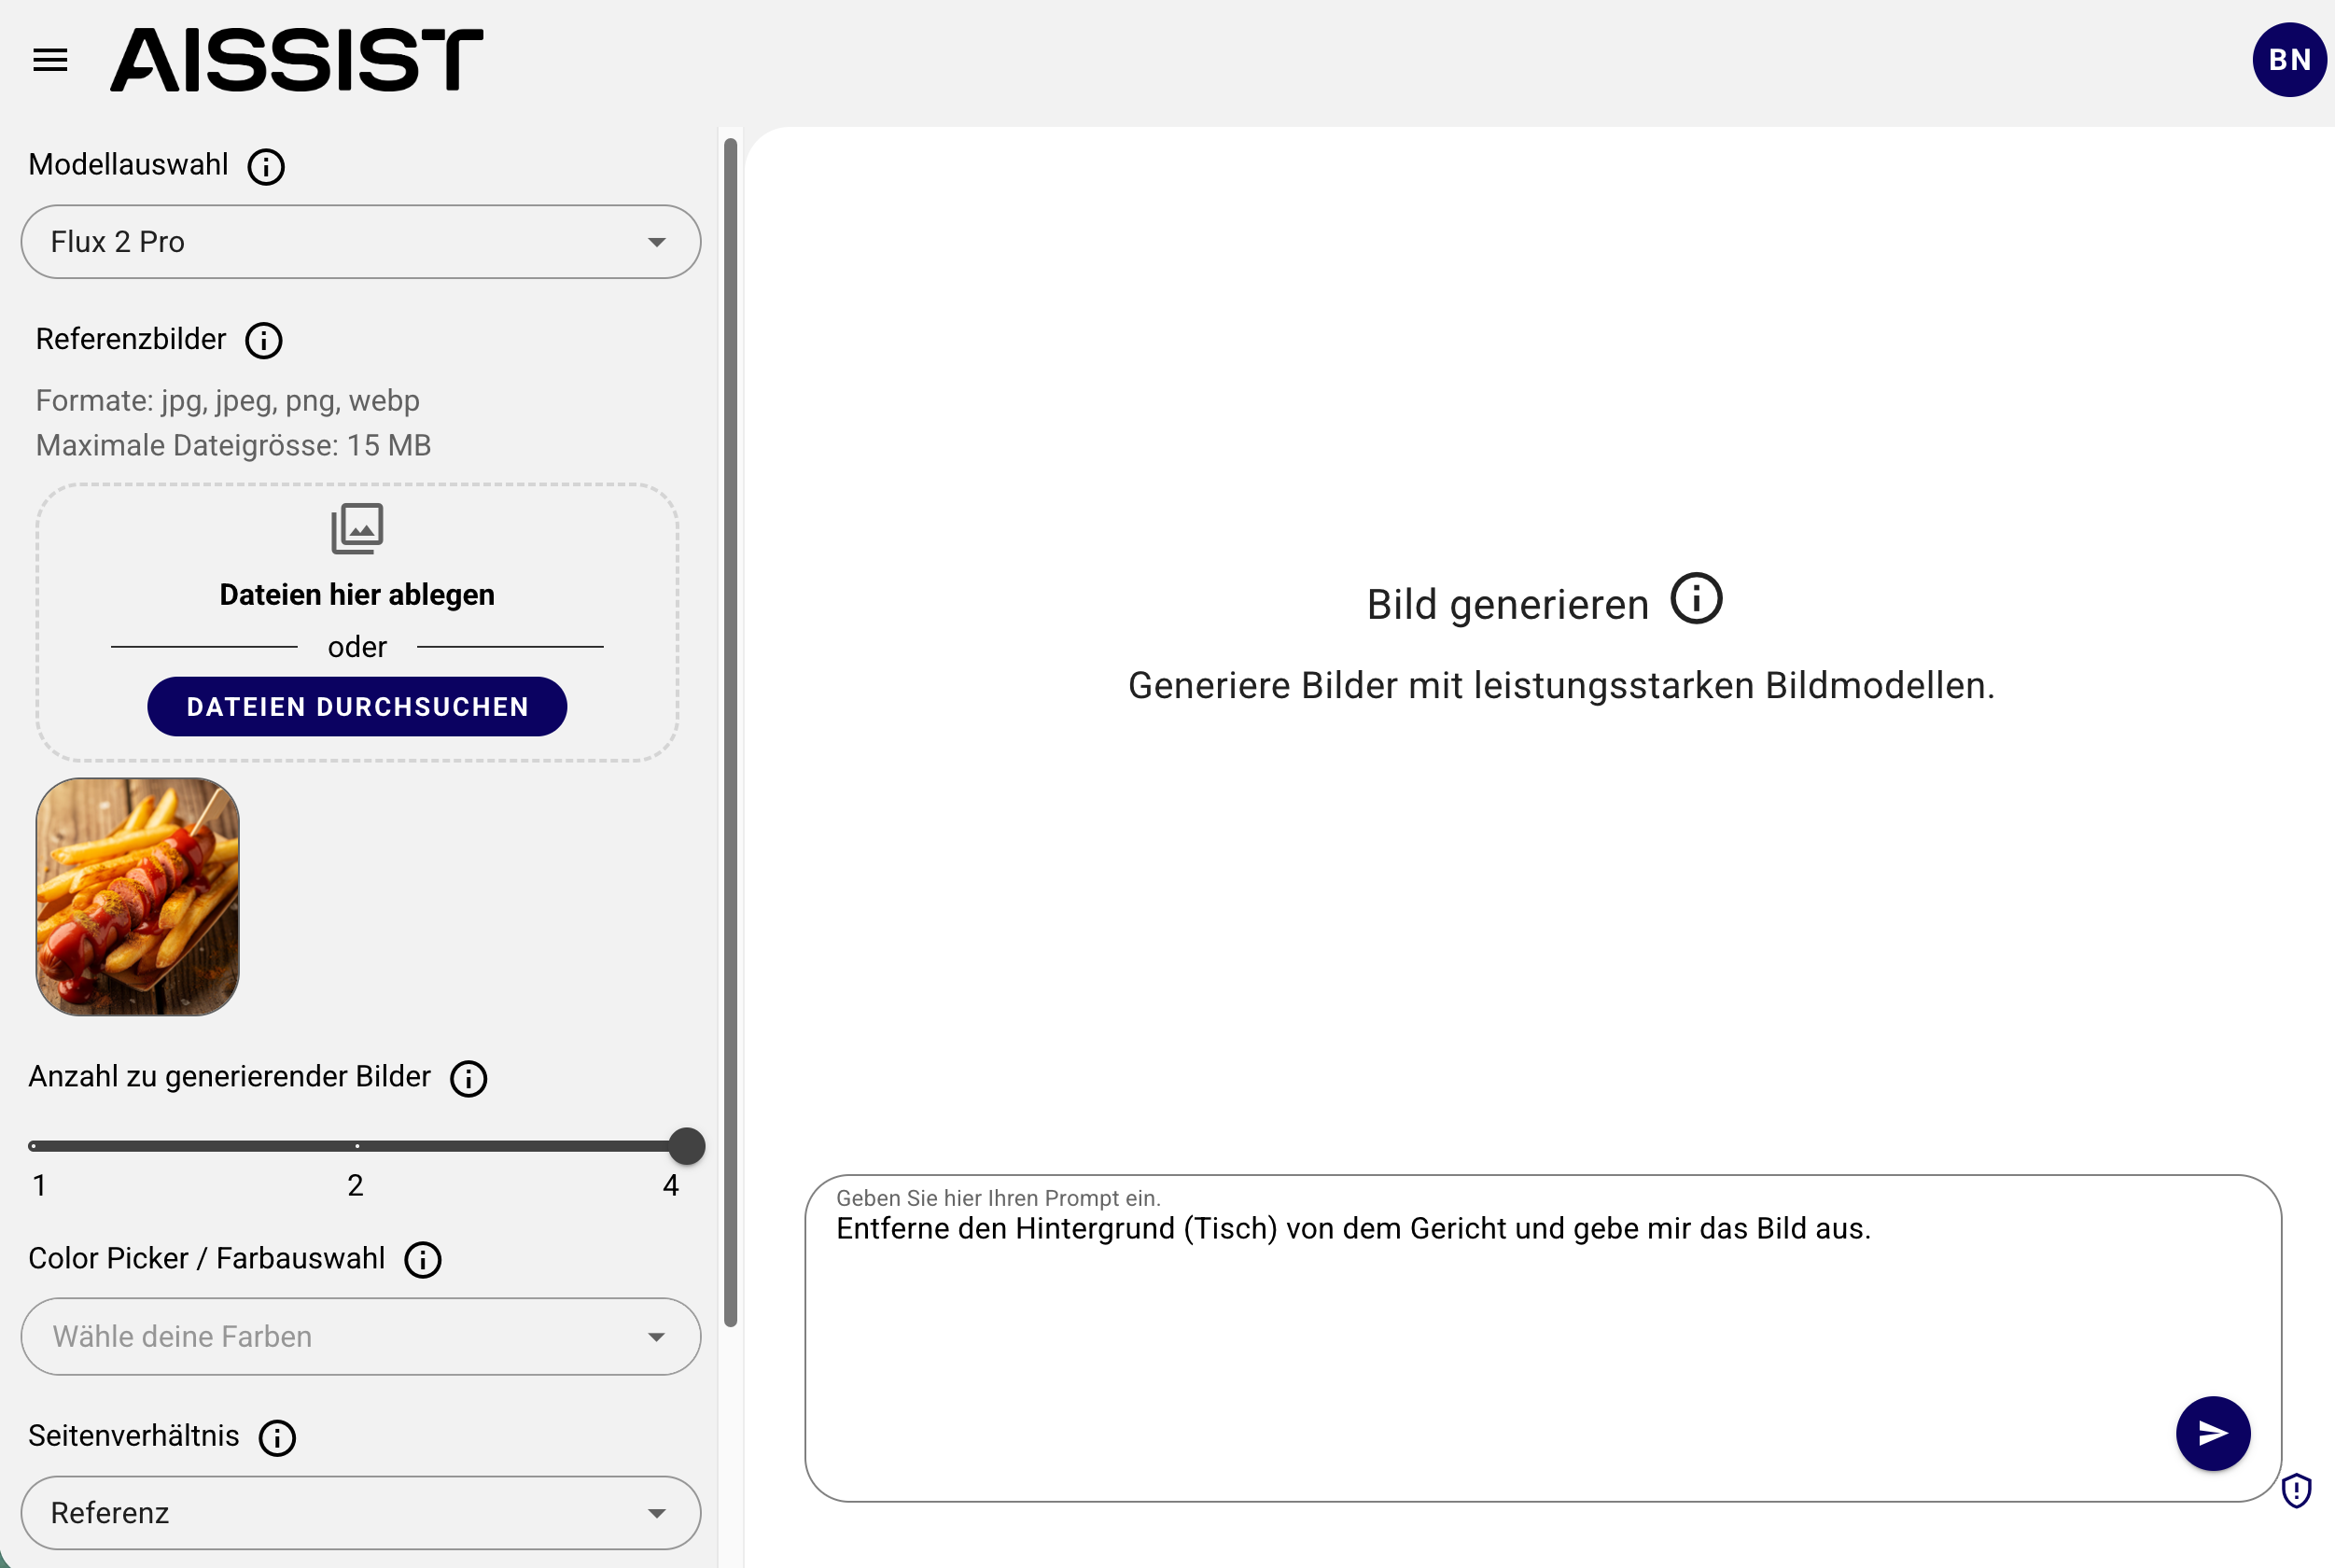
One image (e.g. a currywurst) serves as a template.
- Input image: 1 image × 1 MP × 1.5 cents = 1.5 cents
- Output image: 1 image × 1 MP × 3.0 cents = 3.0 cents
- Total cost per image: 4.5 cents
- For 4 images (AISSIST standard): 18.0 cents
Scenario 3: Three Reference Images + Prompt (Image Editing)
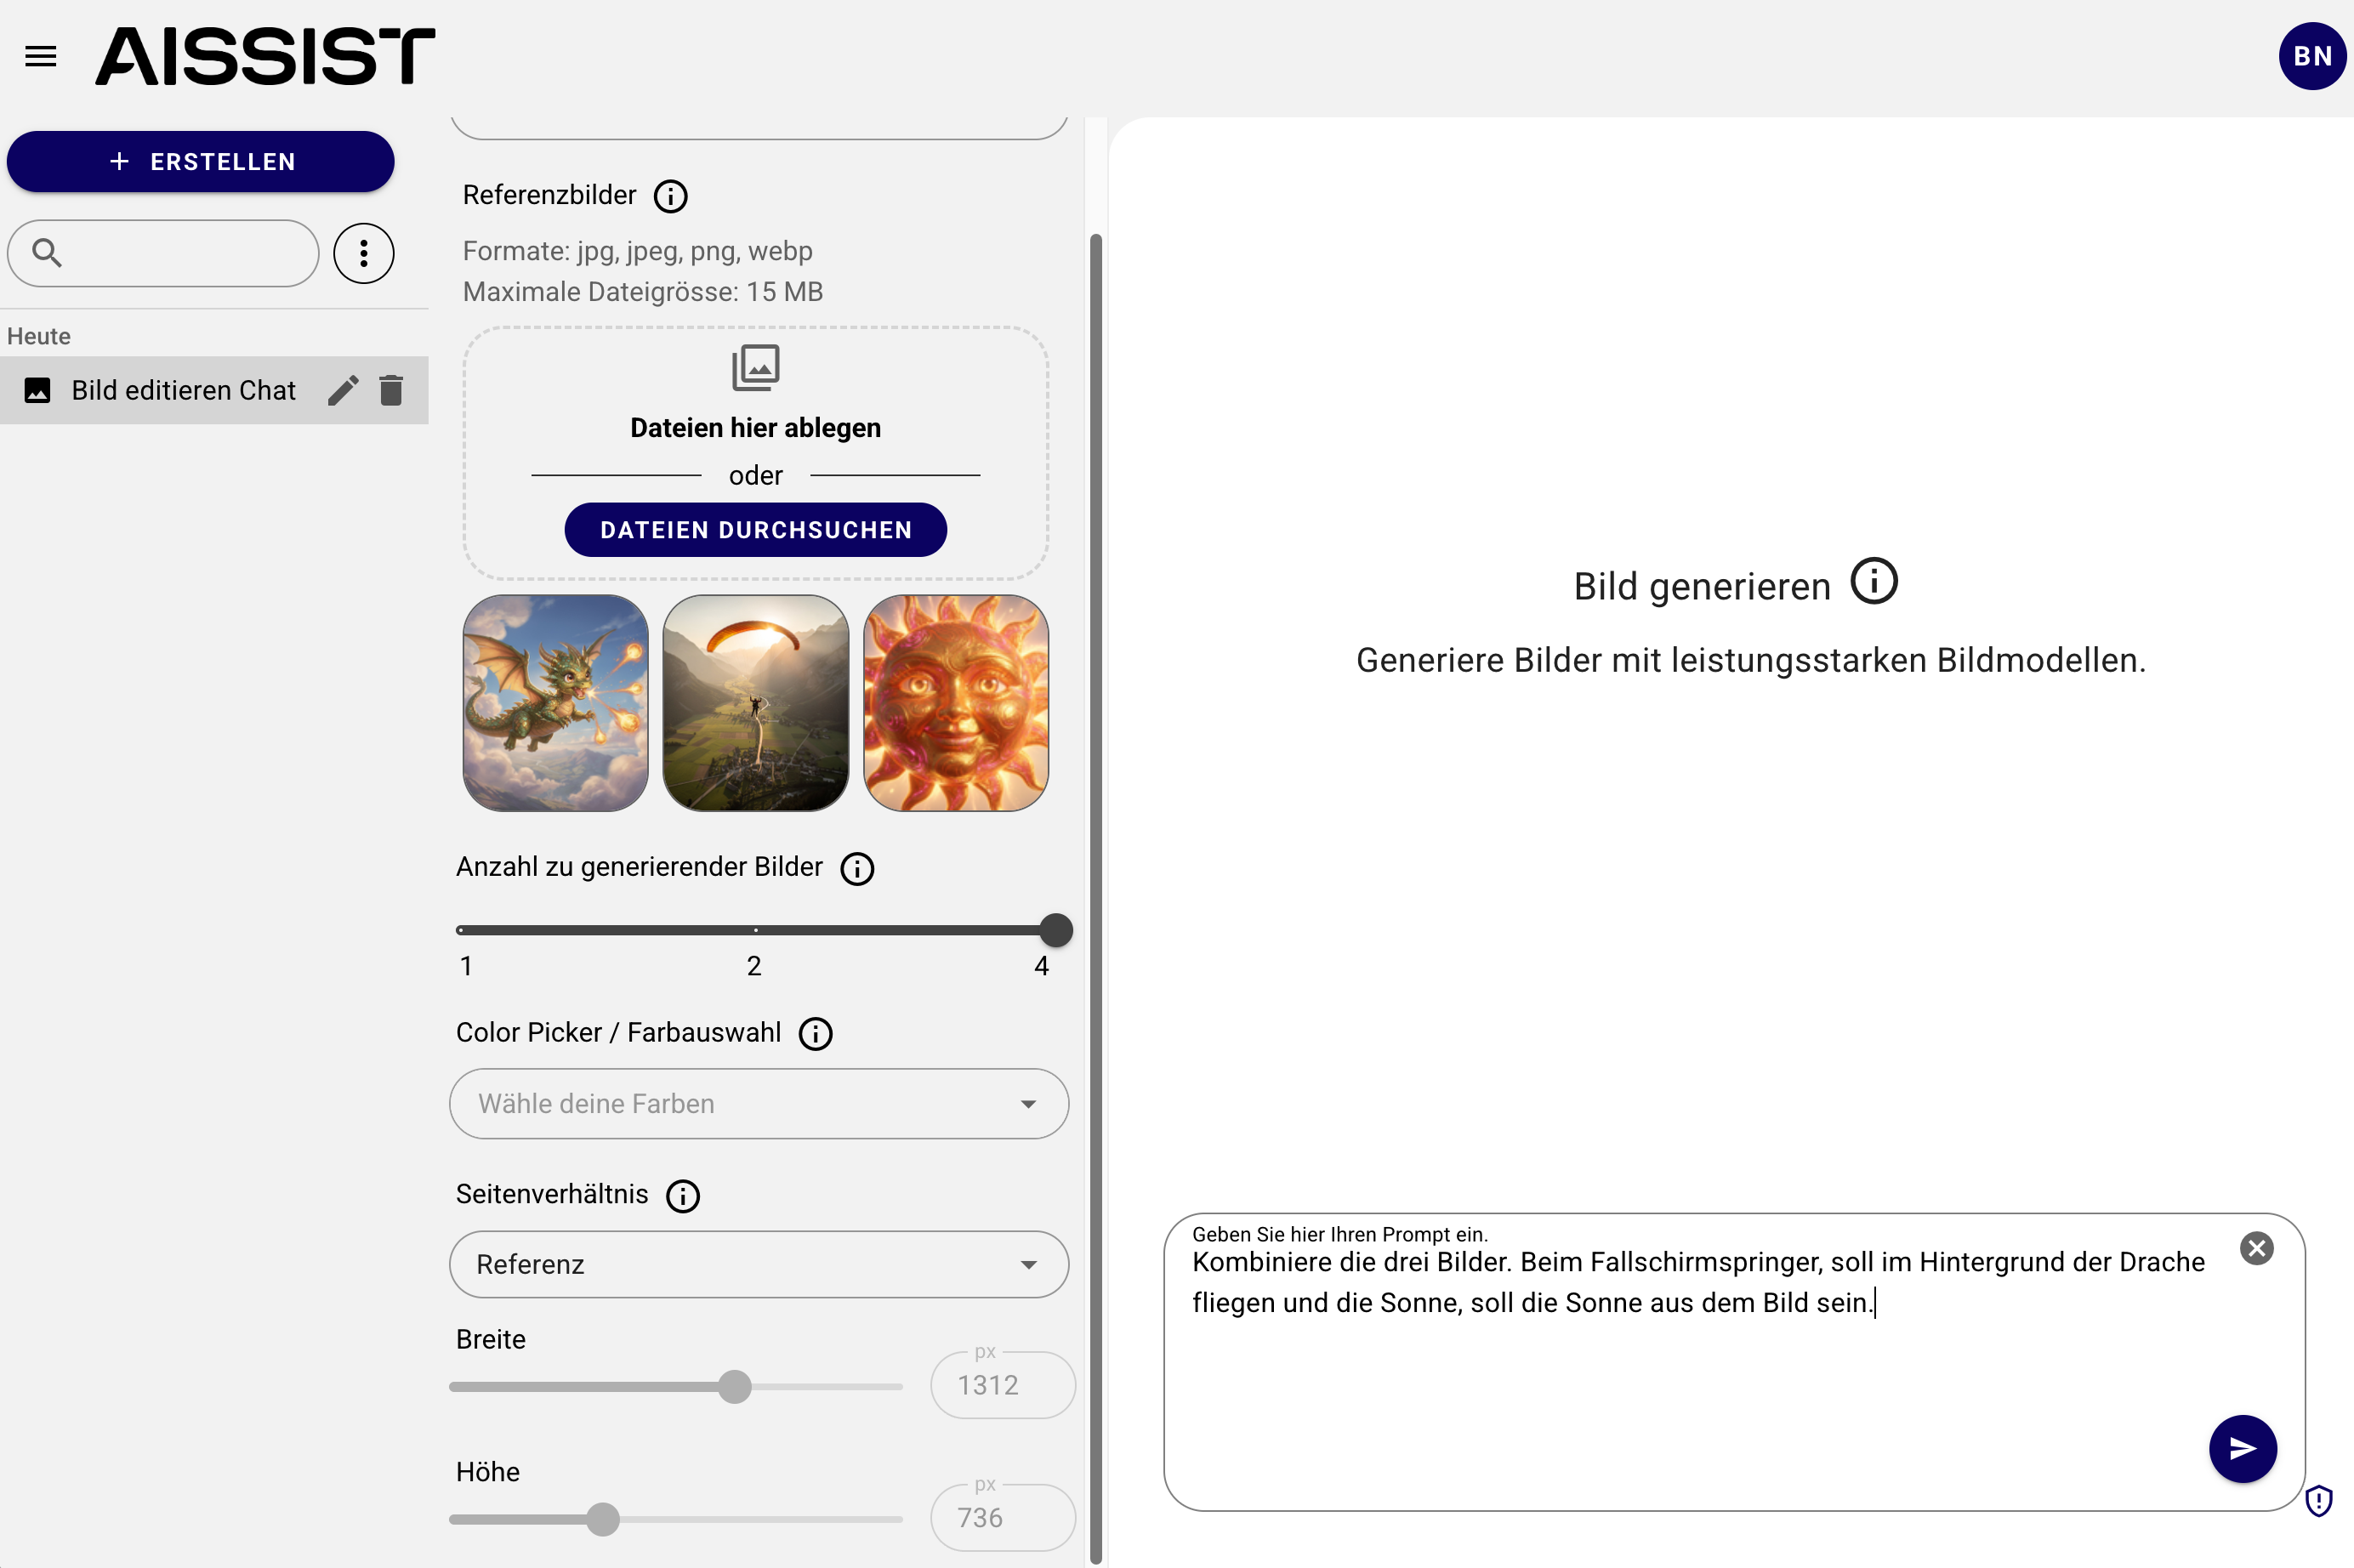
Three images (e.g. skydiver, dragon, sun) are combined.
- Input images: 3 images × 1 MP × 1.5 cents = 4.5 cents
- Output image: 1 image × 1 MP × 3.0 cents = 3.0 cents
- Total cost per image: 7.5 cents
- For 4 images (AISSIST standard): 30.0 cents
Tip: Use only as many reference images as absolutely necessary. Each additional image increases the cost for every single generated result image.